
The excitement of planning a major home renovation is hard to match. You spend weeks—sometimes months—browsing design boards, selecting tile samples, visualizing open-concept living spaces, and anticipating the day your home finally reflects your personal taste. However, the period between finalizing the blueprints and stepping into your completed space can quickly turn chaotic without proper foresight.
A large-scale remodeling project transforms your living space into an active construction zone. Between structural demolition, heavy foot traffic, persistent micro-dust, and temporary utility disruptions, your daily routines face significant strain. The difference between a stressful remodel and a smooth transformation comes down to preparation. By taking proactive measures to safeguard your structure, protect your personal belongings, establish clear trade logistics, and prepare for emergencies, you can keep your home functional and protect your investment throughout the process.
This guide provides a comprehensive roadmap for preparing your residence before construction teams arrive.
1. Audit Infrastructure and Secure Materials Early
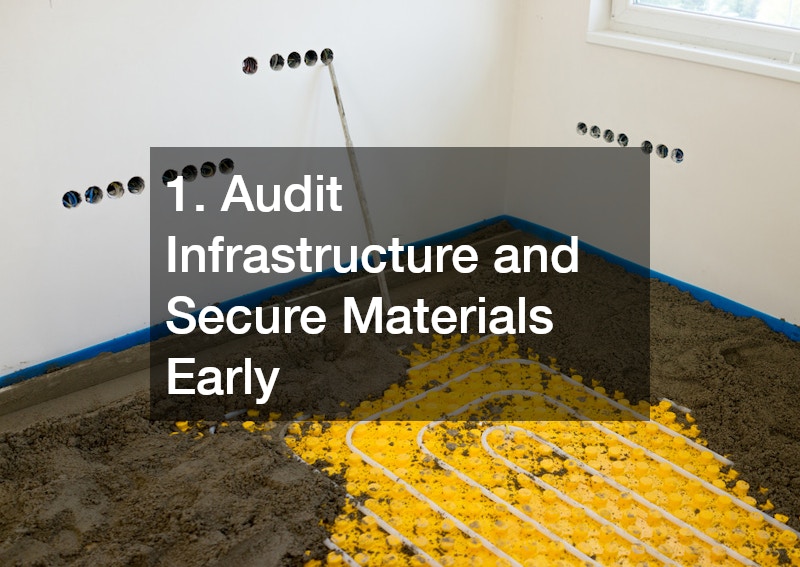
Inspect Utility Lines and Existing Fixtures
Before any demolition begins, perform a thorough assessment of your home’s existing systems within the renovation area. Demolishing walls or pulling up subfloors often exposes hidden issues such as outdated wiring, improperly vented pipes, or subtle water damage. Engaging a licensed bathroom remodeling plumber prior to knocking out walls allows you to evaluate your existing pipe layout, water pressure, and shut-off valves.
An early walkthrough with a qualified professional ensures that your ambitious floor plan aligns with your home’s actual structural and plumbing capacities. It also prevents costly delays that occur when a contractor discovers code violations or deteriorated galvanized pipes halfway through the project.
Before the first wall comes down, make sure to locate and test all primary and localized shut-off valves for gas and water. Take time to inspect visible pipe runs for pinhole leaks, corrosion, or improper slope, and confirm that your electrical panel capacity matches the requirements of any new appliances. Finally, work with a structural engineer to clearly identify load-bearing walls versus non-structural partition walls so you know exactly what can be moved safely.
Establish a Lead-Time Buffer for Essential Materials
One of the most common causes of project stalls is waiting on backordered materials while subcontractors stand idle. To maintain momentum, source long-lead items long before tradespeople walk through the front door.
Ordering fixtures, specialized valves, line extensions, and rough-in kits directly from a dedicated plumbing supply vendor early in the planning phase ensures that work does not grind to a halt. Store these items on-site in clean, dry storage containers, clearly labeled by room and installation order. When materials are delivered, inspect every box immediately for hairline cracks, missing parts, or shipping damage; resolving an inventory issue months before installation eliminates expensive schedule shifts down the line.
2. Establish Site Logistics and Exterior Protection

Prepare Hardscape for Heavy Machinery and Deliveries
Major renovations demand heavy logistics. From massive roll-off dumpsters and concrete trucks to flatbeds unloading framing lumber, your exterior driveways and walkways take a beating during a build. Standard residential asphalt and concrete are not always poured to withstand the point-load weight of commercial trucks, making them vulnerable to severe cracking or sinking.
To keep your hardscape intact, lay down 3/4-inch exterior-grade plywood over concrete and asphalt driveways before deliveries arrive. Placing heavy rubber mats or wood blocks beneath dumpster rollers will distribute weight evenly across the surface. You should also establish clear vehicular turnaround areas to prevent heavy trucks from backing onto lawn edges, and designate a single, secure delivery zone to keep materials off public sidewalks.
Consulting with local driveway contractors prior to scheduling major deliveries gives you expert insight into the load capacity of your hardscape. These specialists can advise on protective measures—such as reinforced ground mats or temporary timber ramps over curb gutters—that prevent structural cracking, oil stains, and expensive concrete repairs once the project wraps up.
Preserve Mature Trees and Landscaping
Construction crews naturally look for the shortest route between their vehicles and the work area, which often leads to trampled garden beds, broken low-hanging branches, and severe soil compaction. Compacted soil starves root systems of oxygen and water, which can kill mature shade trees months after your project is complete.
To prevent unintended property damage, hire full-service landscape contractors to erect high-visibility protective fencing around specimen trees, irrigation heads, and delicate plantings. Establishing strict boundary lines keeps heavy equipment, staging piles, and tradesperson parking well outside the drip lines of your trees, preserving your curb appeal throughout construction.
3. Isolate Dust Zones and Protect Interior Furnishings
Contain Air Particle Migration and Protect Soft Goods
Renovation dust is notoriously invasive. Fine silica from tile cutting, plaster residue, and sawdust travels quickly through open doorways and HVAC systems, settling into every corner of your home. Protecting your interior requires establishing air-sealed barriers and clearing out sensitive soft goods before work starts.
Containing dust starts with installing heavy-duty plastic sheeting featuring re-sealable magnetic zippers over all open doorways leading to non-construction areas. Be sure to seal off return air vents inside the active work zone using plastic film and painter’s tape to prevent dust from cycling through your heating and cooling systems. Creating a dedicated isolation corridor for contractors entering and exiting the home will protect surrounding flooring, while removing window treatments, fabric shades, and decorative textiles from adjacent rooms prevents airborne dust from embedding into soft fabrics.
Start by rolling up every soft floor covering in and around the work area. Transport valuable area rugs to a secure, climate-controlled space or an off-site storage unit. Leaving soft textiles in place—even under canvas drop cloths—invites ground-in grit, moisture retention, and potential color transfer from construction boots.
Wrap Built-in Features and Plan Post-Project Restorations
For larger furniture pieces that cannot be removed from adjacent living spaces, move them to the center of the room and elevate them off the floor with wood blocks or furniture risers. Wrap each piece tightly with padded moving blankets, securing the layers with heavy-duty stretch film to create a barrier against dust and impact.
Once the build is complete, restore your furnishings by following a clear cleaning sequence. Begin by performing a top-to-bottom vacuuming of all upholstered furniture using HEPA filtration to draw out fine particulates. Carefully inspect wooden legs and frames for minor scuffs or finish damage before fully unwrapping each piece. Treat any spots or stains immediately using material-specific cleaning agents, and arrange for deep thermal extraction for upholstered items that remained near active work zones throughout the project.
Even with rigorous containment, micro-dust eventually finds its way onto soft furnishings. Scheduling a professional upholstery cleaning company for the week following construction completion ensures that your couches, armchairs, and fabric headboards are thoroughly sanitized, eliminating fine dust particles and lingering odors before you settle back into your refreshed space.
4. Ensure Utility Resilience and Set Safety Protocols
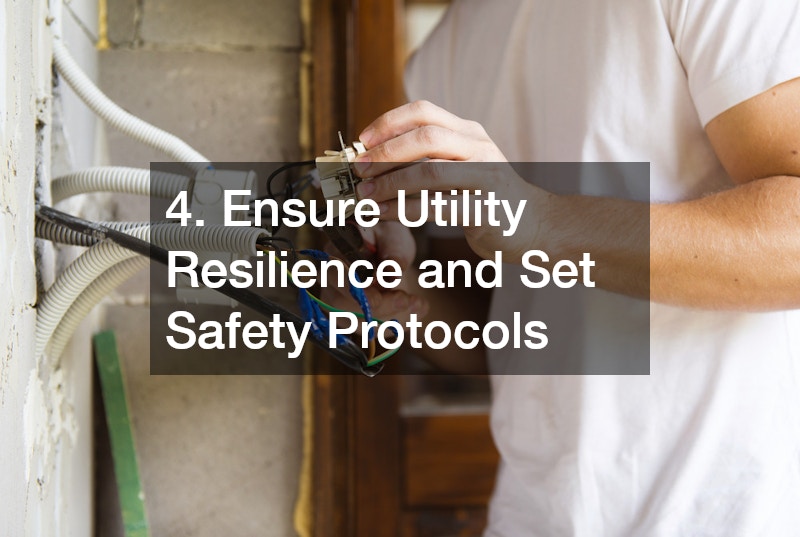
Maintain Uninterrupted Power During Electrical Shifts
Structural updates almost always require temporary power disruptions as electricians tie in new circuits, update panels, or relocate service entries. During long builds, these shut-offs can disrupt remote work setups, cause food spoilage in refrigerators, and disable security systems.
To maintain power resilience, start by identifying the essential circuits needed during construction, such as those powering refrigeration, networking equipment, and living area lighting. Set up dedicated extension runs from active, non-impacted circuits to keep personal electronics online, and test battery backups for home security systems, smoke detectors, and internet routers ahead of time. Lastly, label circuit breakers clearly so crews know exactly which switches control active work areas without cutting power to the rest of the home.
Setting up reliable home generators before construction begins provides essential power continuity. Whether you use a standby system or a portable fuel generator, having an independent power source guarantees that your core household appliances remain functional during planned grid dropouts or accidental circuit trips caused by high-draw contractor tools.
Prepare for Unexpected Plumbing Disruptions
Demolition near wall cavities and subfloors always carries a risk of accidental pipe punctures, broken shut-off valves, or main-line blockages. A single misplaced nail or sudden pressure spike can spark a sudden water leak, threatening surrounding finished spaces.
Preparing for potential emergencies starts by painting main water, gas, and electrical shut-off valves in bright, easily recognizable colors so anyone can find them quickly. Post a clear emergency contact sheet near the main electrical panel and site entrance, and place battery-operated water leak alarms near active plumbing tie-ins. It is also wise to review your homeowner’s insurance policy to verify that it covers accidental builder-induced water damage.
Before demolition day, build a dedicated emergency response sheet and post it prominently inside the workspace. Include the immediate direct line of an emergency plumbing service that offers 24/7 rapid response. While your primary builder carries insurance, having direct access to an emergency specialist who can handle late-night leaks or main-line failures limits structural water damage and keeps your project on track.
5. Execute Post-Construction Cleaning and Systems Audits
Clear Fine Silica Dust and Construction Debris
Once the final nail is driven and your contractors gather their toolboxes, your home requires a rigorous cleaning routine before it is safe for regular daily living. Construction dust contains ultra-fine particles, including drywall compound, concrete dust, and wood shavings, which can irritate lungs and scratch new surface finishes if swept incorrectly.
A successful post-build clean happens in three distinct phases. First, execute a rough clean by removing large trash, lumber scraps, discarded packaging, and protective floor films. Next, move into a deep clean phase, wiping down all vertical surfaces, cabinet interiors, door frames, and light fixtures. Finally, perform a touch-up pass by HEPA-vacuuming and mopping floors 48 hours later to capture any remaining dust that settled out of the air.
Relying on standard household vacuums often damages their motors and blows fine dust straight back into the air through standard exhaust ports. Hiring a trained, professional home cleaner who uses commercial-grade equipment featuring sealed HEPA filtration guarantees that invisible particulates are pulled from baseboards, trim moldings, and window sills. This thorough deep-cleaning process leaves your newly renovated space truly ready for move-in day.
Clean HVAC Ducts and Restore Air Quality
While surface cleaning restores your living spaces visually, your home’s mechanical systems require equal attention to safeguard your indoor air quality. Air handlers frequently pull fine particulates into the duct network during construction, even when return vents are masked off.
Restoring your indoor air quality requires replacing all furnace and air return filters with high-MERV-rated filters immediately after construction wraps up. Vacuum interior duct openings using a vacuum equipped with soft bristle attachments, and inspect outdoor compressor units to ensure cooling fins are free of heavy dust accumulations. Throughout the process, monitor indoor humidity levels to prevent excess moisture from freshly applied plaster or paint from lingering in the air.
Schedule dedicated dryer vent cleaning services along with your primary duct maintenance after construction finishes. Fine lint, combined with fine drywall dust drawn into laundry exhaust lines, creates dense blockages that restrict airflow, increase utility costs, and present a significant fire hazard. Clearing these exhaust systems completely gives you peace of mind and keeps your home operating safely and efficiently.
In addition to preventing potential hazards, regular dryer vent cleaning can prolong the lifespan of your appliances. It helps ensure that your dryer operates at peak efficiency, reducing drying times and lowering energy consumption. By scheduling these services promptly after construction, you’ll not only maintain a safe environment but also improve the overall air quality in your home. It’s a proactive step that pays off in both safety and savings.
Conclusion
Preparation turns what could be an overwhelming ordeal into a smooth, rewarding investment. By taking control of site logistics, protecting your home’s infrastructure, isolating living areas, and planning for thorough post-build maintenance, you set up your project for success from start to finish. A great home renovation should elevate your daily life, not disrupt it indefinitely. By systematically working through these preparation steps, you protect your property, support your tradespeople, keep your timeline intact, and ensure that stepping into your newly remodeled space is a rewarding experience.
Ready to start planning your upcoming home transformation? Share your thoughts, questions, or your own renovation tips in the comments section below, or contact our team today to get expert guidance on managing your project seamlessly from day one!